Tuesday, December 23, 2014

Sweet Potato Casserole.

Our family goes grocery shopping every 4-6 weeks with quick stops for milk and lettuce in between.  We are nearly due for our shopping trip so I'm making sure that all perishables are used up prior to buying new.  Sweet potatoes were on my hit list.

I've only seen sweet potato casserole prepared with marshmallows on top.  While I love an ooey gooey Rice Krispie Treat made with extra marshmallows, I've never been attracted to them on sweet potatoes.  And my husband doesn't like pecans...so I set out to create a crunchy topping on my sweet potato casserole without marshmallows and without pecans.

The result is nothing short of delicious.  All through supper my husband kept saying that he should go grab some ice cream because it tastes like a dessert!  For that reason, this makes the perfect special occasion side.  And, yes, I'm going to make it again on Christmas because I think it's that amazing!


Sweet Potato Casserole.
(Recipe by Me; Inspired by Taste of Home)

Casserole:
4 lbs sweet potatoes (peeled and cubed)
1 cup milk
1/4 cup brown sugar
6 tablespoons of butter (softened)
1 egg (beaten)
1 1/2 teaspoon ground cinnamon
2 teaspoons vanilla extract
3/4 teaspoon ground allspice
1/2 teaspoon salt
1/4 teaspoon ground nutmeg

Topping:
3/4 cup flour
3/4 cup brown sugar
3/4 cup crushed Chex cereal (crushed)
1/2 cup butter (melted)

Place cubed sweet potatoes in a saucepan and cover with water.  Bring to a boil.  Reduce heat, cover, and cook for 20 minutes.  Drain.  Put sweet potatoes into a mixing bowl (I used my Kitchen Aide Mixer) and mash.  Add remaining casserole ingredients and beat until smooth and well combined.  Transfer into a shallow 2 1/2 quart baking dish.  Combine topping ingredients and sprinkle over sweet potato mixture.  Bake, uncovered, for 50 minutes in a 350 degree oven.


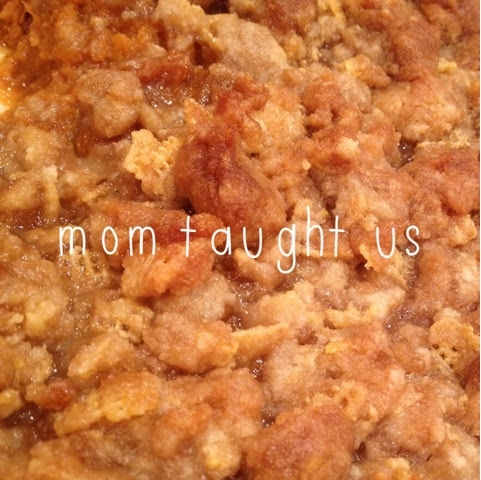
I love that we got 'crunch' from the cereal and didn't have to resort to pecans or marshmallows for this recipe.  You could also pull this off with corn flakes, cinnamon toast crunch, and probably rice krispies!  If your family likes pecans you could do half pecans and half cereal which I think would actually be tastier than just pecans.  However you decide, just make this!  And if you want: serve it as dessert!  :)

Friday, December 19, 2014

Butterhorns.

So about those butterhorns that I referenced on my Facebook Page...

This kind of remind me of a croissant (love) but not greasy.  And I love that they are simple to make and can be made ahead of time!!  And I enjoy watching my niece (1 year old) grab one and run off with it.  Girl likes her auntie's yeast bread/roll making!

I first saw these on Melanie Makes blog.  I've loved Melanie since my college years - nearly ten years ago when she was one of the top scrapbookers.  Since that time she has flipped her creativity into the food world.  Plus she lived in Wisconsin for a time while her husband attended medical school (On Wisconsin!).  Anyway, Melanie always has a Thanksgiving Menu that I only dream of and this was on the 2014 menu.  Melanie gave rave reviews and sent readers over to this blog where Courtney urged readers to get up and mix up the butterhorn dough and then get back to what you were otherwise doing.  I obliged.  ..and have made three batches since.


Butterhorns
Recipe from Neighbor Food

2 tablespoons yeast
1 cup lukewarm water
1/2 teaspoon salt
1/2 cup melted butter
3 eggs (beaten)
4 1/2 cups flour

Mix together yeast, water, and salt.  Let sit until dissolved.  Add in sugar, butter, eggs, and flour.  Mix well.  Cover with saran wrap and place in refrigerator overnight.  Dough will nearly double in size.

The next day, take dough and divide it into four equal pieces.  Flour your work surface, hands, and rolling pin.  Roll out each piece of dough into a 9 inch circle.  Slice the into 8 equal triangles.  Roll up starting from the wide end and ending at the narrow end.  Place on a baking sheet (preferably lined with parchment paper; and did you know they make already-cut parchment paper!?!  Mine is from a company called U-Line and it's wonderful!)  Cover rolls with a dish towel and allow to rise for 2 hours.  Bake in a 350 degree oven for 8-10 minutes or until golden.

Serve warm to really treat yourself and guests.

But wait, there's more!

These can be frozen right after rolling up or frozen after letting them rise or frozen once baked.  Remember, I said they can be made ahead!  Head over to Courtney's blog if you want to learn more about these other methods!